Payment system has returned to normal. Free shipping worldwide!
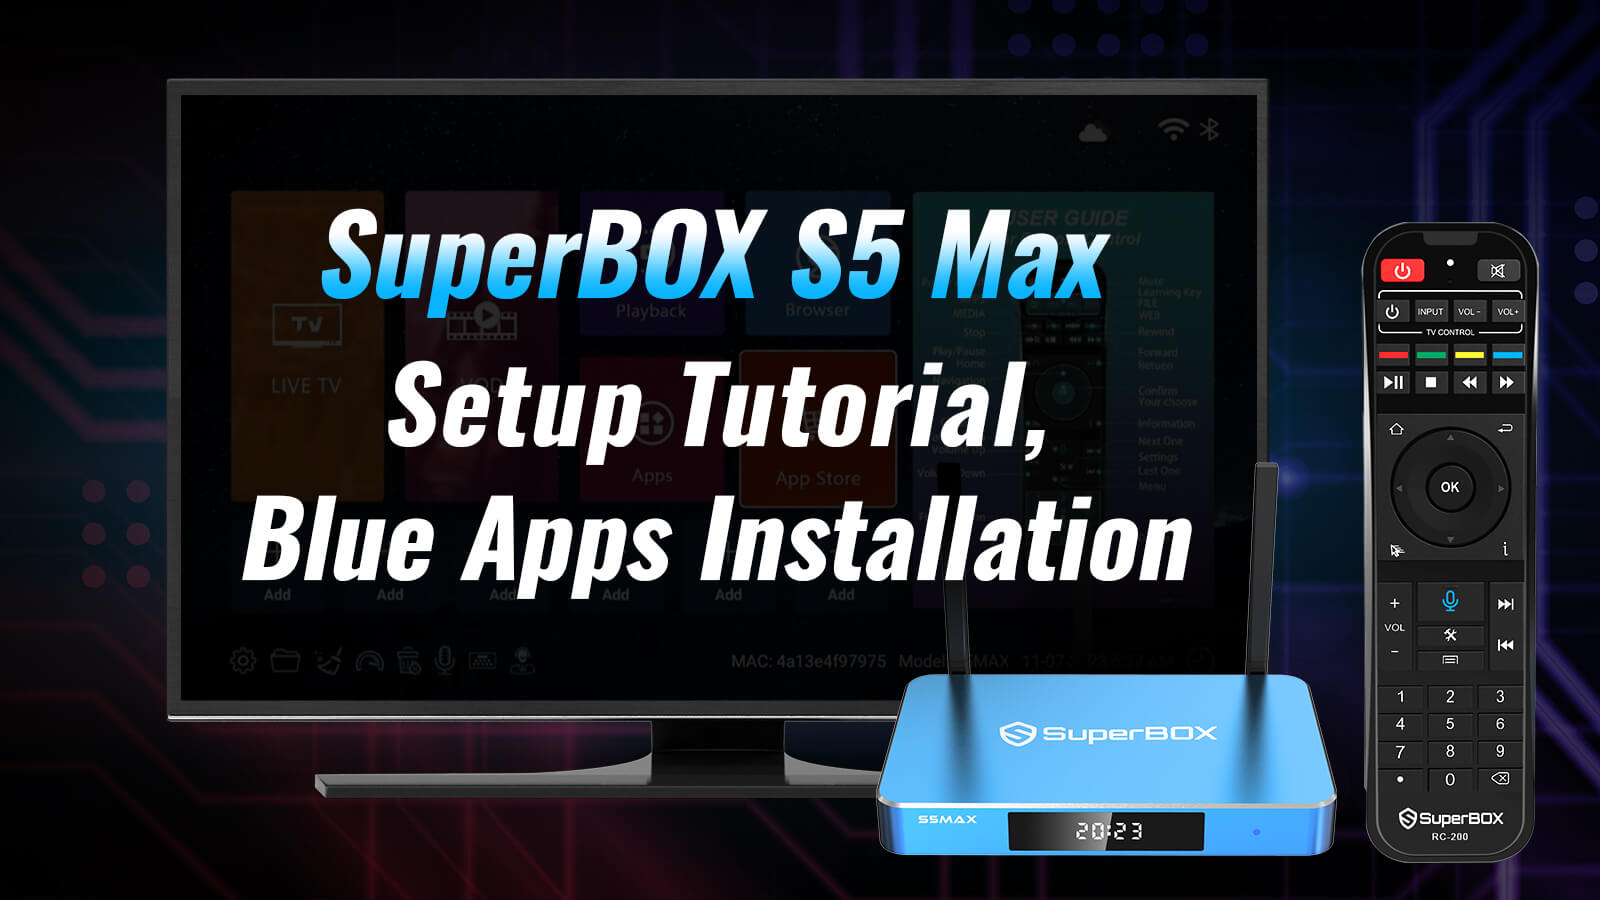
How To Set Up SuperBox S5 Max?
The best tutorial on how to set up the SuperBox S5 Max in 5 minutes. The step-by-step manual you can learn easily.
Step 1 – Agree to the Disclaimer Notice – (Press [OK])
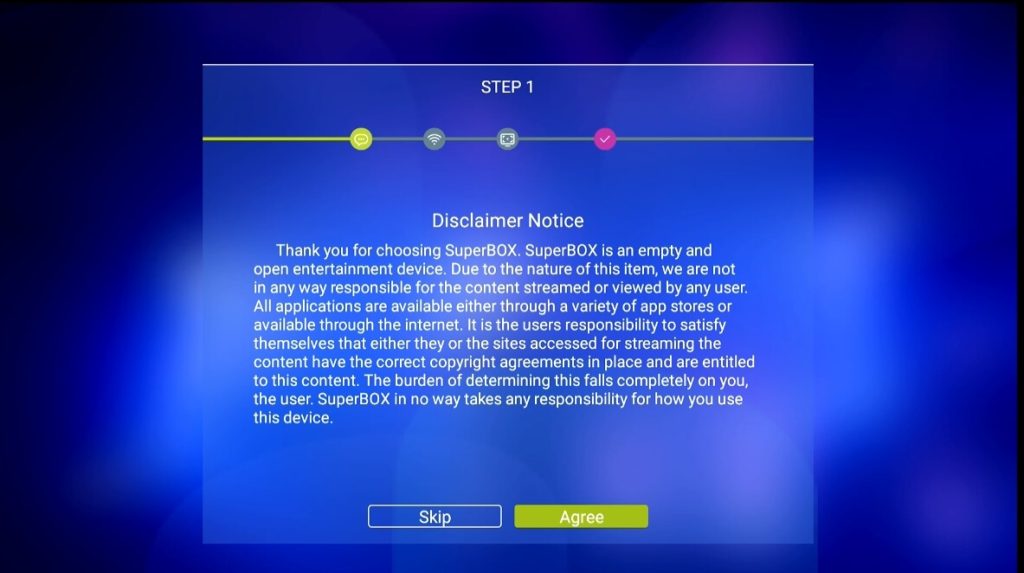
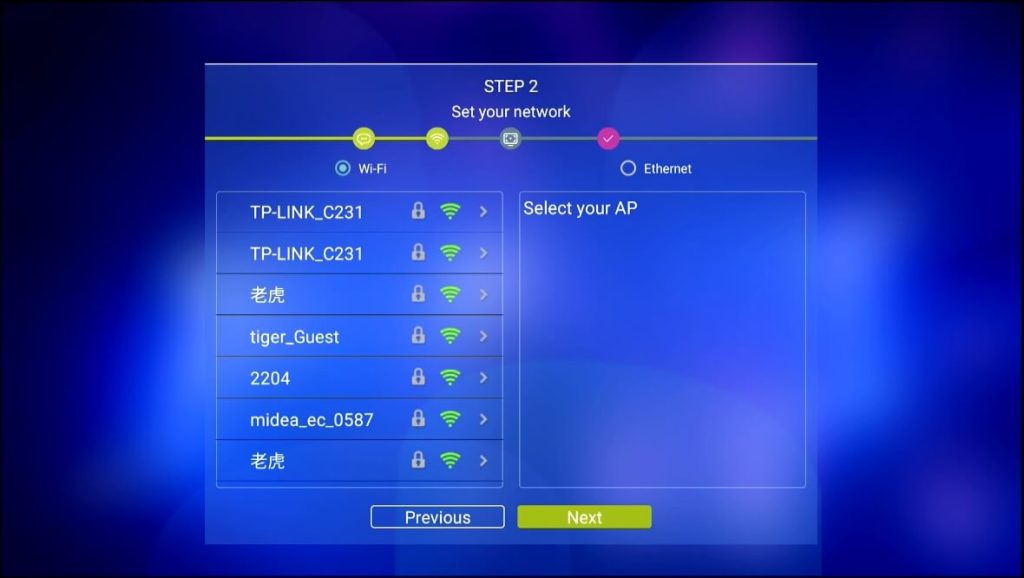
Step 2 – Select your internet connection (Either Ethernet or WiFi)
Step 2A – Ethernet Setup Plug into Router – (Press [OK])
Step 2B – WiFi Setup Select WiFi Network – (Press [OK])
Step 2C – Enter Password (Press [OK] on [Check] to Save)
Step 2D – Arrow to Connect (Press [OK] to Connect)
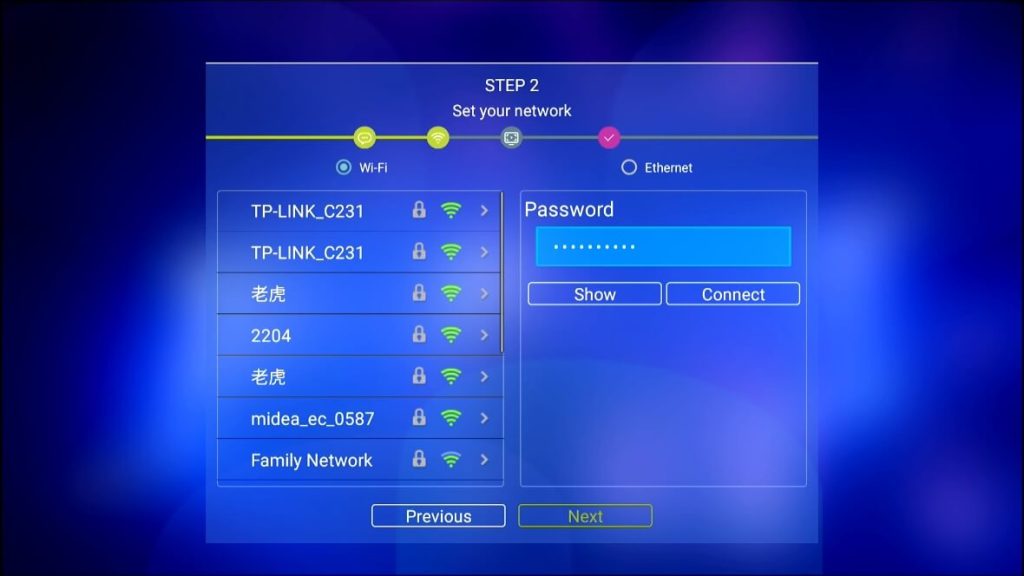
Step 2E – Arrow to [Next] (Press [OK] to Finish
Step 3 – Adjust Screen to fit your TV
(Use UP/DOWN Arrows to Adjust – Press [OK] on Finish)
Step 4 – Pair Bluetooth Remote
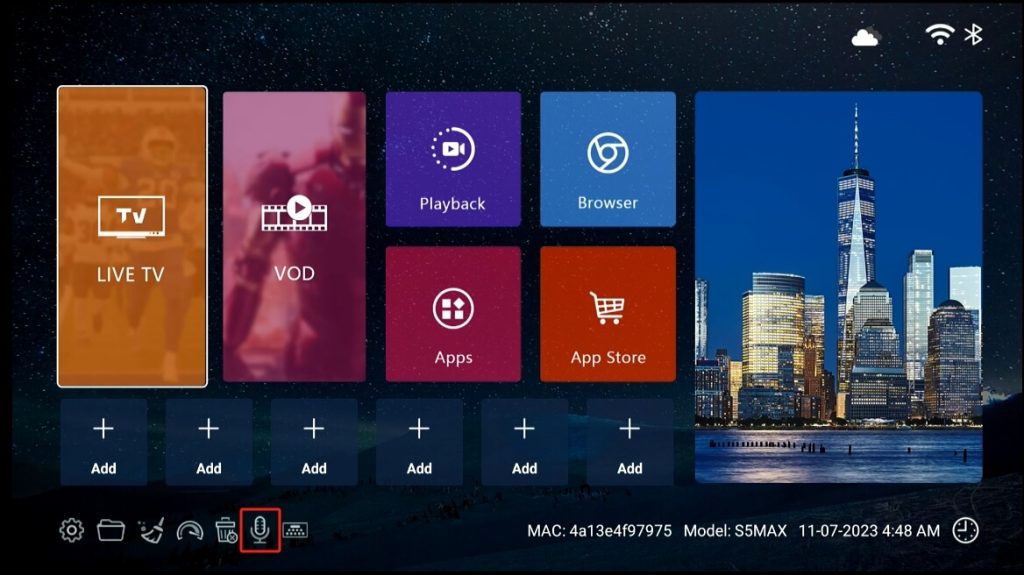
Step 4A – Arrow down to Voice icon or Press the [VOICE CONTROL button on the remote
Step 4B – Hold [OK] and [Return] buttons together till the indicator flashes
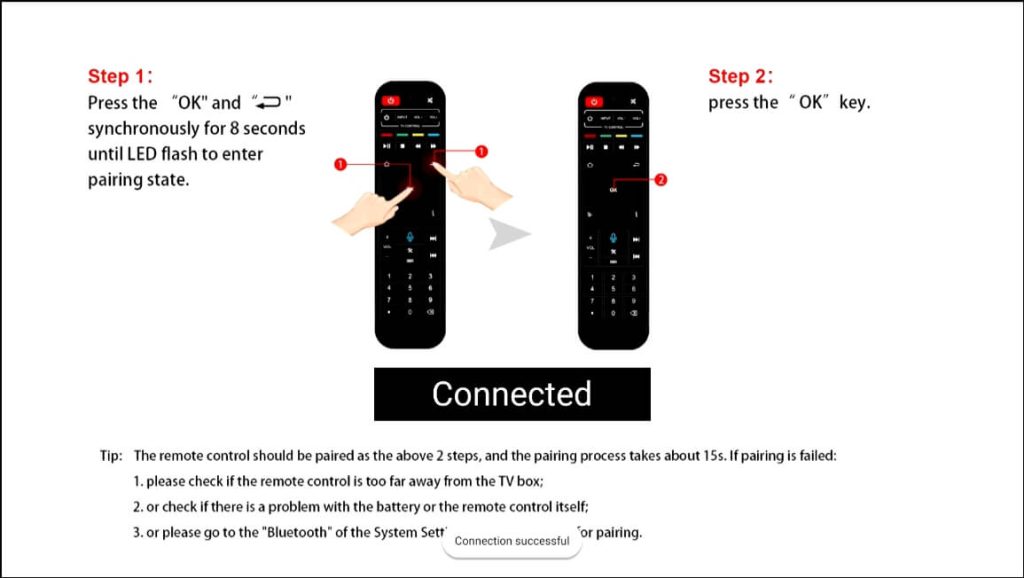
Step 4C – Press [OK] to finish pairing
Now the remote turns into Bluetooth mode and you’re able to use the Voice Command function
When speaking to the remote for the first time, it will pup up the Google Assistant notice, select Sign in or Use Assistant without sign-in
Step 5 – Download & Install the Blue Apps
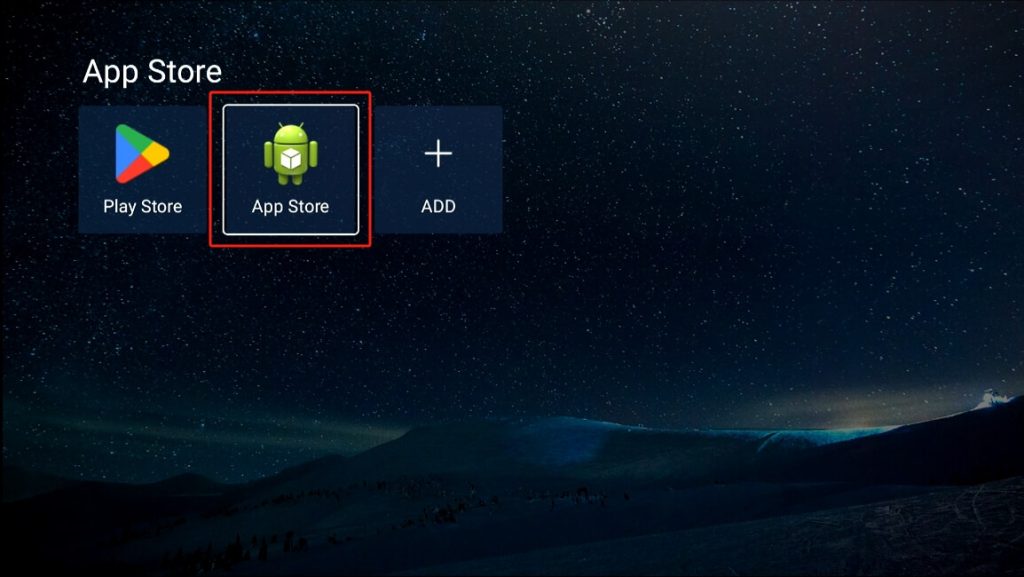
Step 5A – Arrow Over to [ App Store], and wait for a few seconds till the App Store(Not the Play Store) shows up

Step 5B – Click to install the App Store, and go to the downloaded App Store
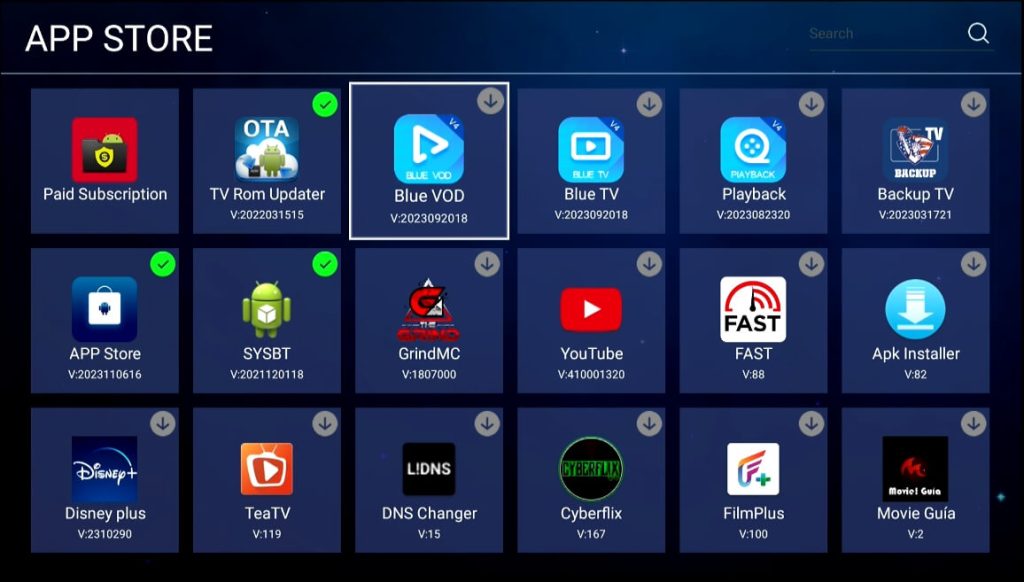
Step 5C – Click Blue TV, Blue VOD, Playback, Backup TV and other apps
you want to install
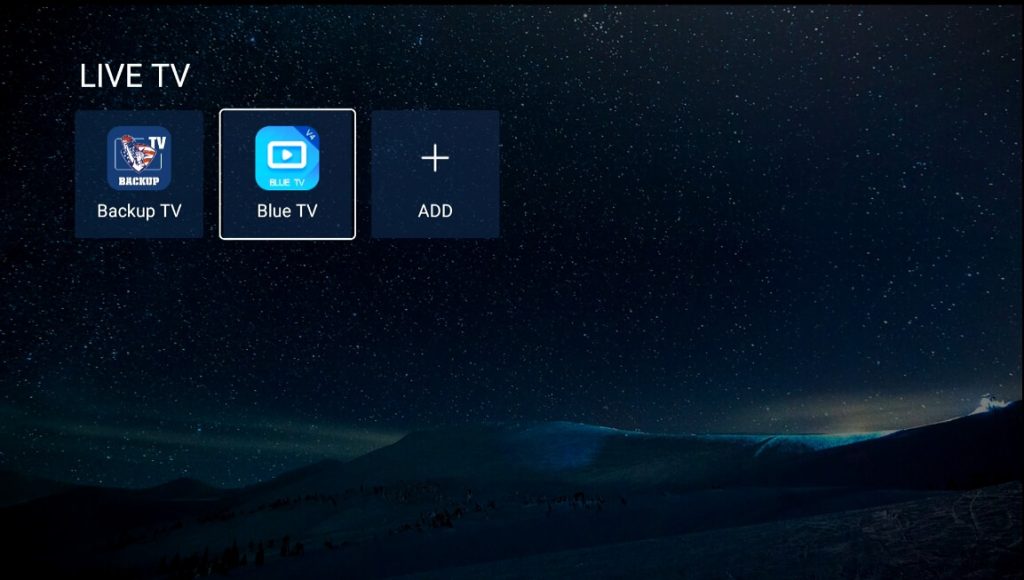
Step 5D – Setup Live TV & Backup TV
Return to the home screen, arrow to LIVE TV, and add the “Blue TV”
“Backup TV” in the category. The same operation for the Blue VOD
and Playback
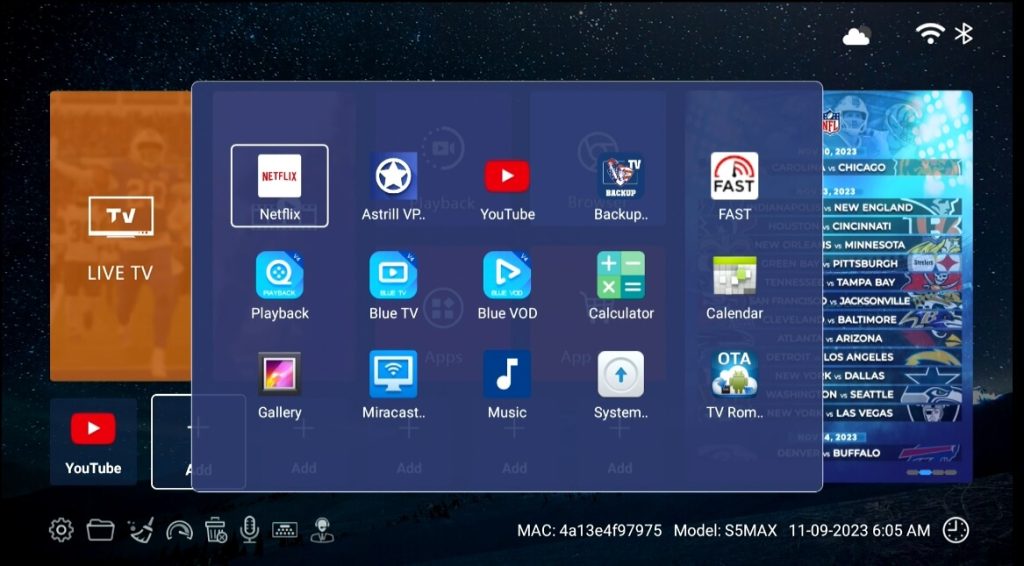
Step 6 – Add apps to Home Screen Shortcuts
Step 6A – Arrow over to [Add], Select the App. Then Press [Return] to Exit

I am looking at buying one or more of your boxes such as S5 PRO but have a couple questions:
Is there a playback function available where I can rewind and pause and go back to earlier tv channels? This is most important for me on Fox Business channel.
Do some movies come with multi-channel sound?
Is there a video that shows a newbie how to set up the box?
Thanks, Cliff
Hi there, our S6 series box have the time-shift function that able to pause and rewind imdediately. While previous models can rewind the next day.
VOD doesn’t have multiple sounds, but comes with closed captions for English and Spanish
Yes we do have set up tutorials in video or PDF file